
A Github app for coding standards

"I will have order!" - Dolores Umbridge
In this article, I'll walkthrough creating a Github app to encourage contributors to review best practices before merging/approving code.
A bot to emphasize coding standards
Tools like confluence and Notion lead to the "out of sight, out of mind" effect where developers forget to review documentation before submitting code. I decided to write a small Github app that makes it impossible for an author of a pull request to ignore coding standards. It does two things:
- Listens for the creation of a pull request, grabs the contents of a particular Notion page, and posts the contents as markdown in the first comment of the pull request.
- Listens for thumbs up reactions on the comment and submits an approving review when the number of reactions exceeds a particular threshold. If enough reactions are removed, it dismisses its earlier review.
The goal: to ensure developers don't need to log in to the company Notion account to review standards and that at least one team member has acknowledged the standards in a PR comment.
Tutorial Overview
This tutorial assumes knowledge of:
Here's the outline of the tutorial:
To begin, you'll need a name for your bot. I went with the name Umbridge Github App since I was obsessed with Harry Potter as a kid. I recommend using the same name to make this tutorial easier to follow. Before continuing, you'll need to set a few things up:
- Make sure you have a Notion account and a Notion page for your coding standards like this one.
- Create a Github organization. I will use InterBolt's organization in my instructions and screenshots.
- In your Github org, create a repo that contains only a README.md file. Name this repo umbridge-bot-test so you're not confused when following along. You'll use this to create pull requests at the end of the tutorial.
Ok, time to get started.
1) Notion
Unlike some platforms that hand you a single API key to make lots of requests, Notion uses a different model. In Notion, you must first create a developer integration, then explicitly connect your integration to a page.
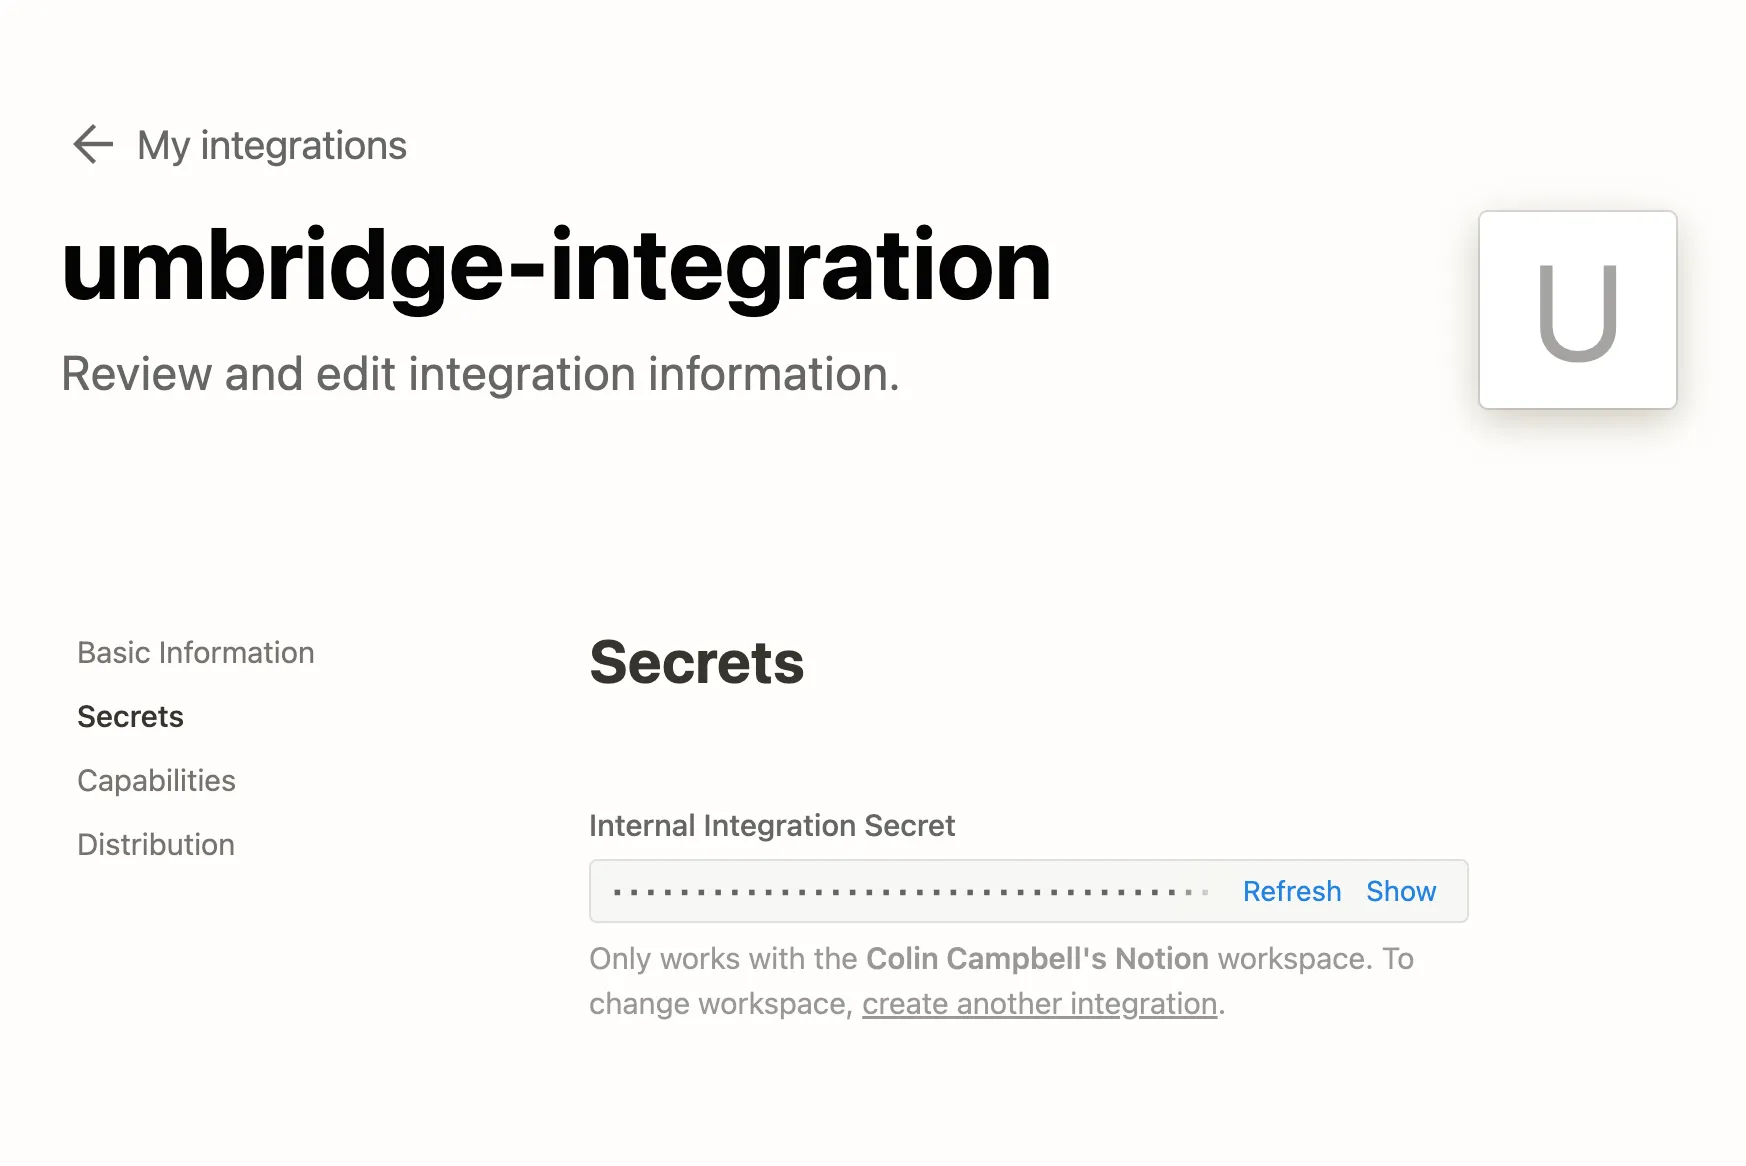
Navigate to the Notion developer integration page and create an integration called umbridge-integration. Then, navigate to your integration's secrets tab and save the secret for later.
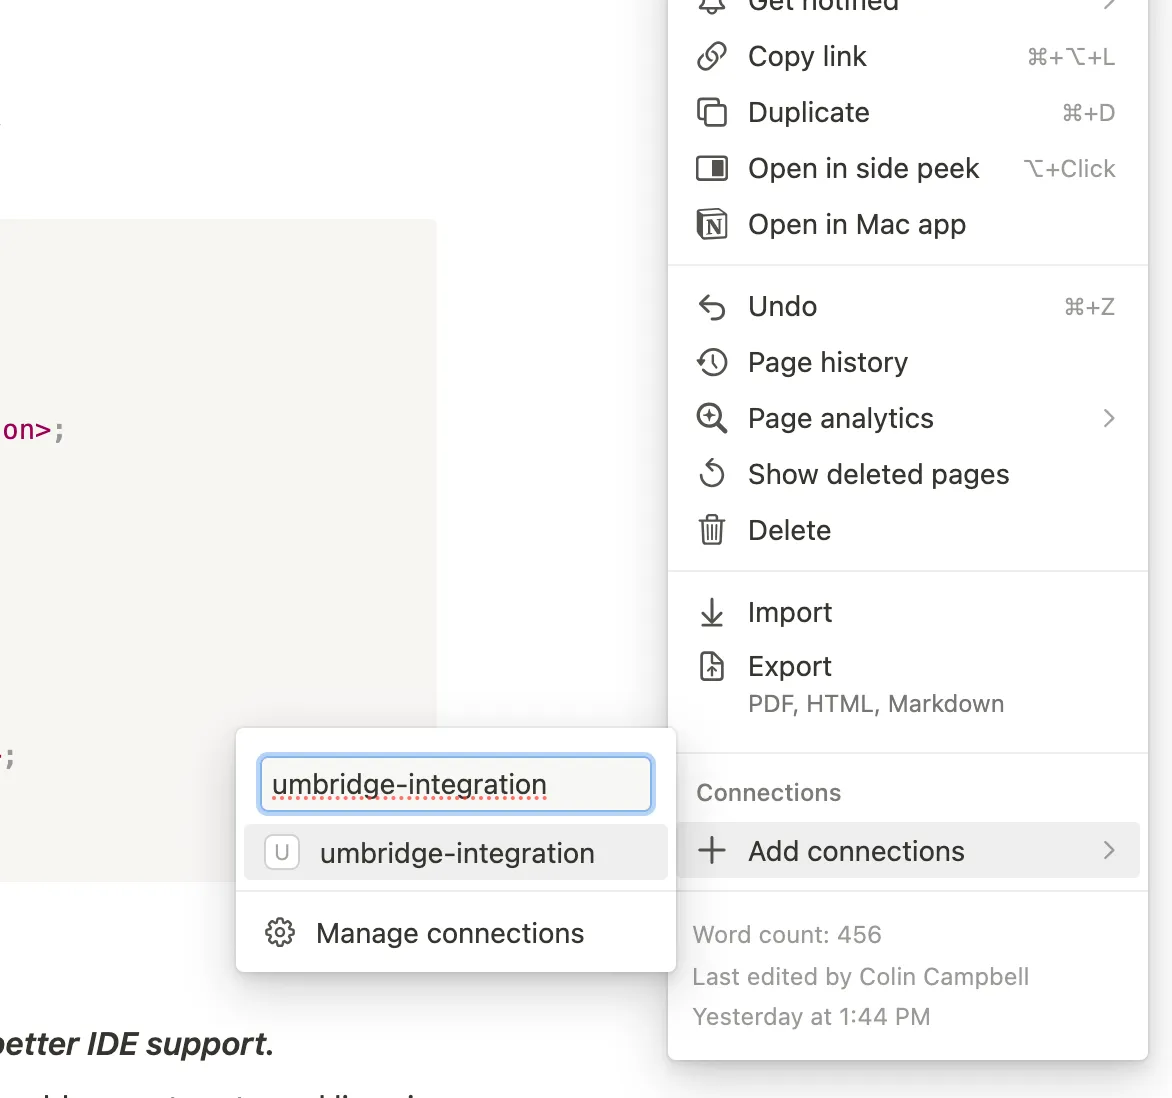
Next, navigate to the Notion page where you wrote your coding standards. On that page, click the three dots in the upper right corner of the page's screen, scroll to the bottom of the dropdown, and click "Add connections". In the search input, type "umbridge-integration". You should see the integration you just created. Clicking your integration will connect it to the page.
2) Github
Before you can run the code for Umbridge Github App, you need to register and configure a new Github app in the organization that you created at the start of the tutorial.
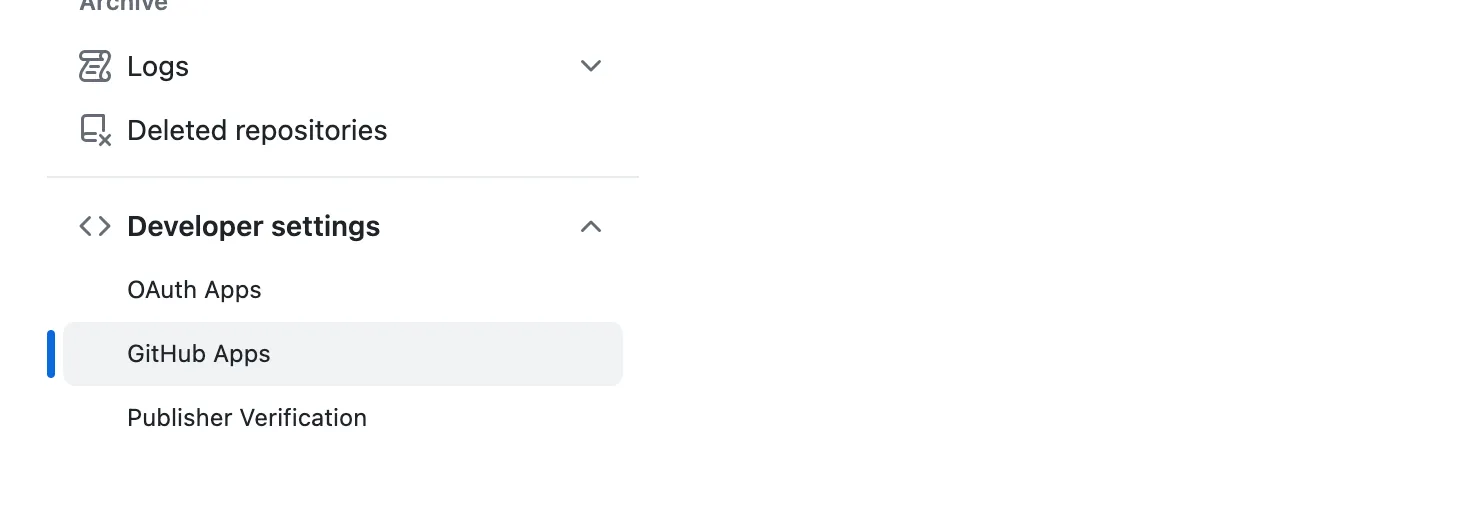
First, navigate to your organization's settings.

Then, navigate to Developer settings => Github Apps.
You should see a screen like this:
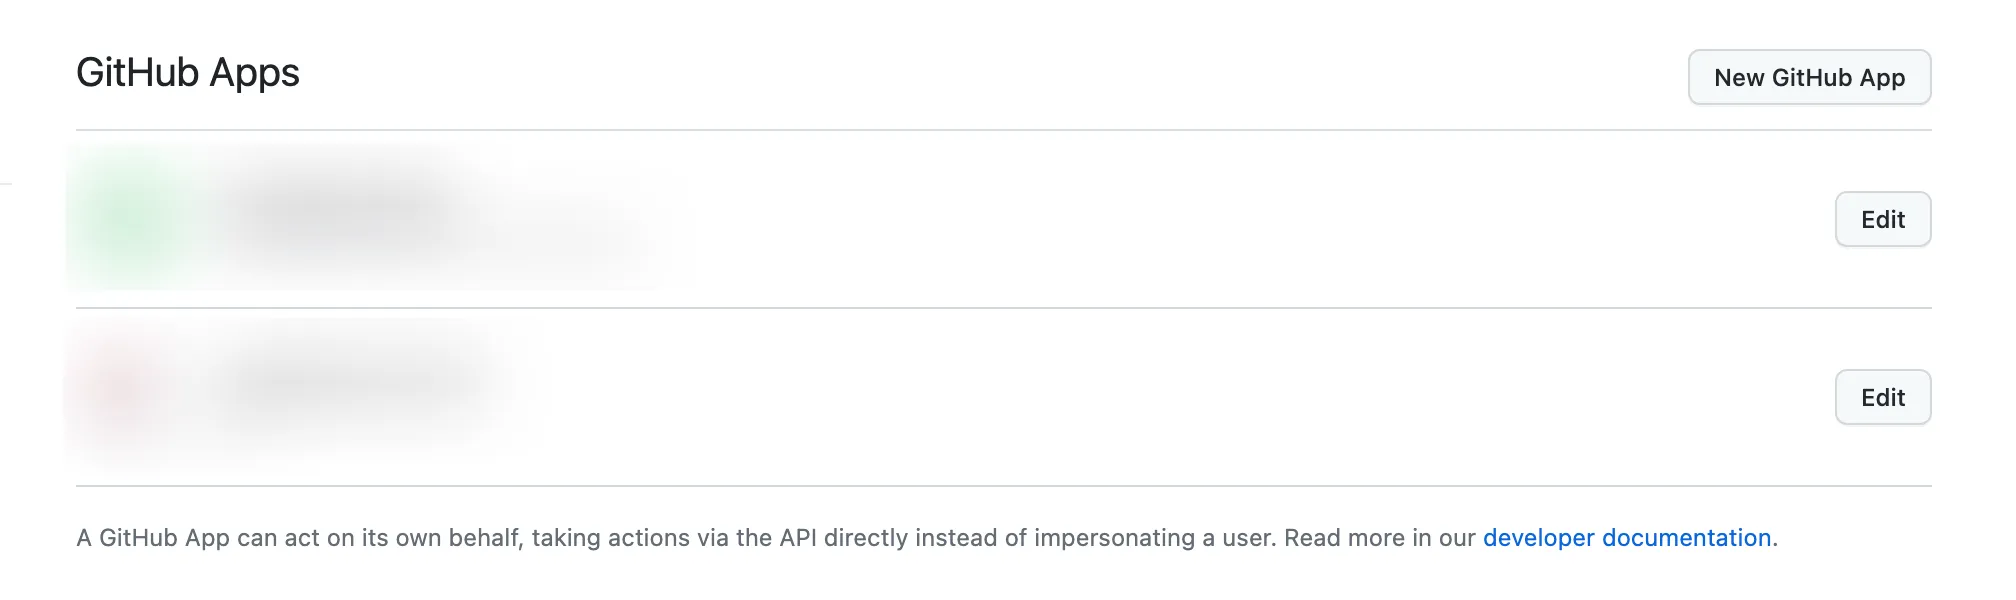
On this page, click the "New Github App" button to register Umbridge Github App. I'll walk you through each section of the registration form:
Section: Basic information
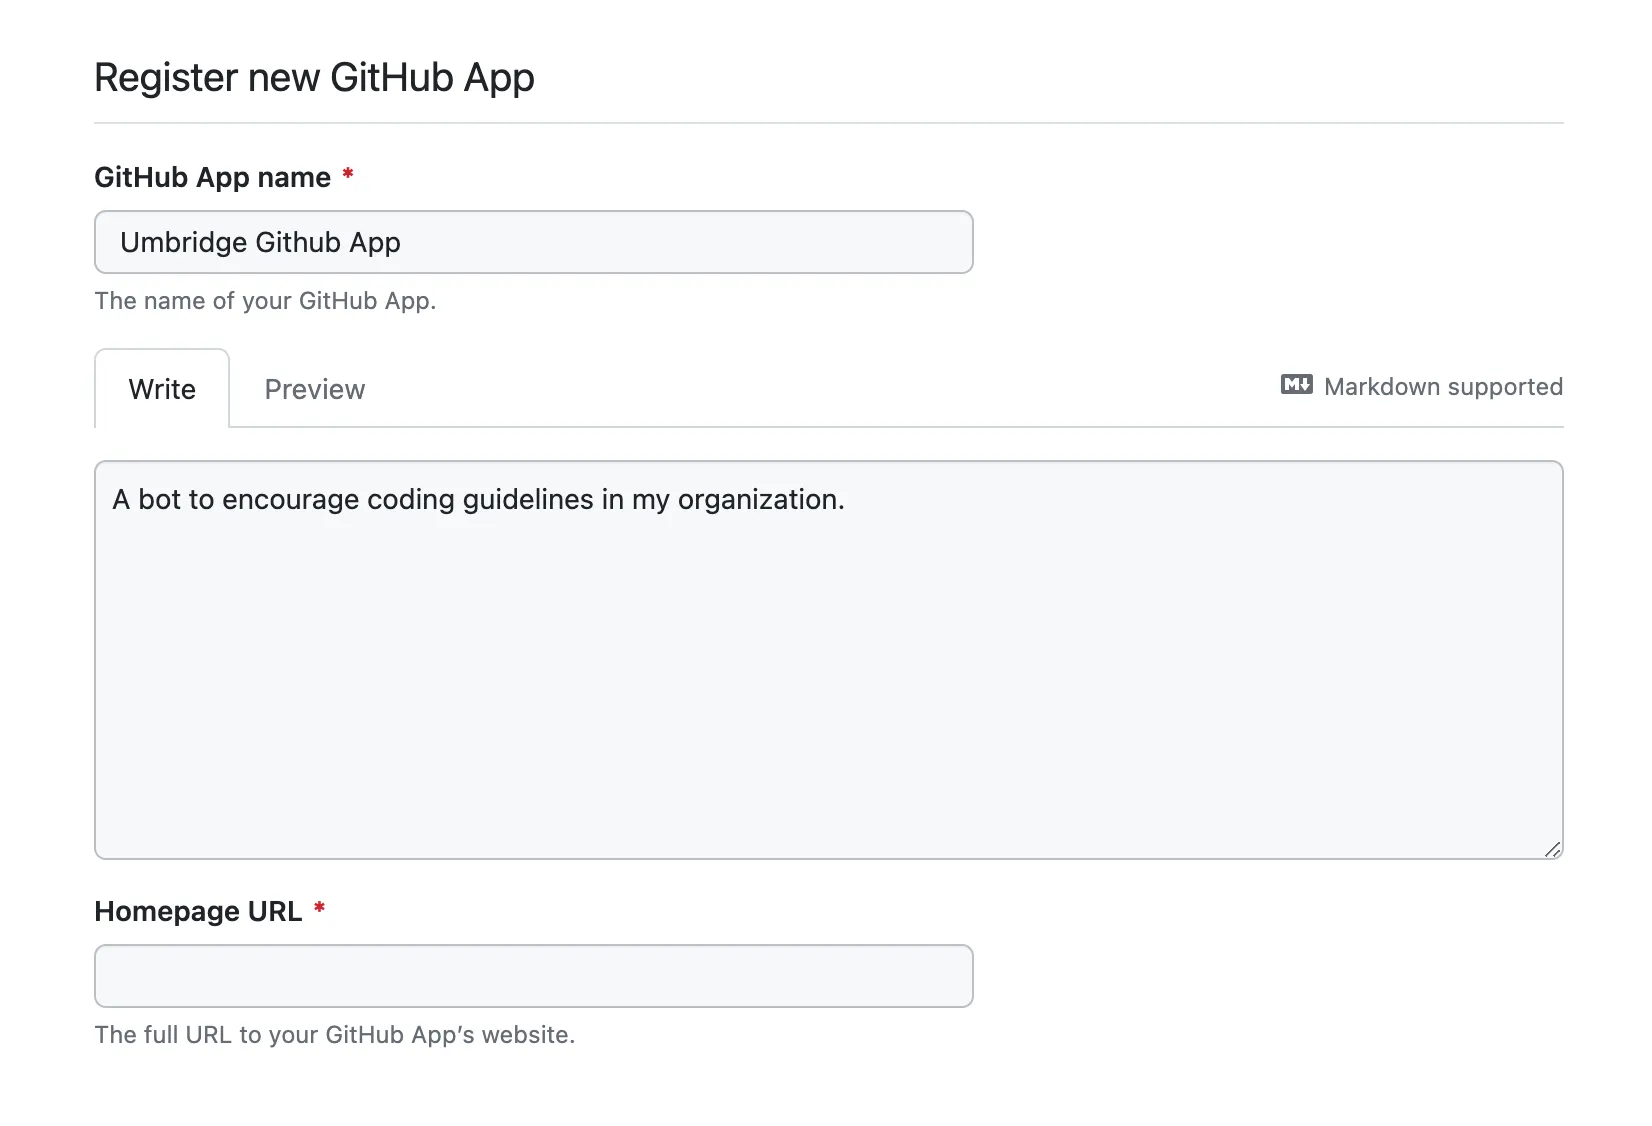
- GitHub App name: I used "Umbridge Github App".
- Description: I used "A bot to encourage coding guidelines in my organization."
- Homepage url: Whatever makes sense - I used the link to this blog post: "https://interbolt.org/blog/github-pr-guidelines-bot/".
Section: Identifying and authorizing users
Section: Post installation
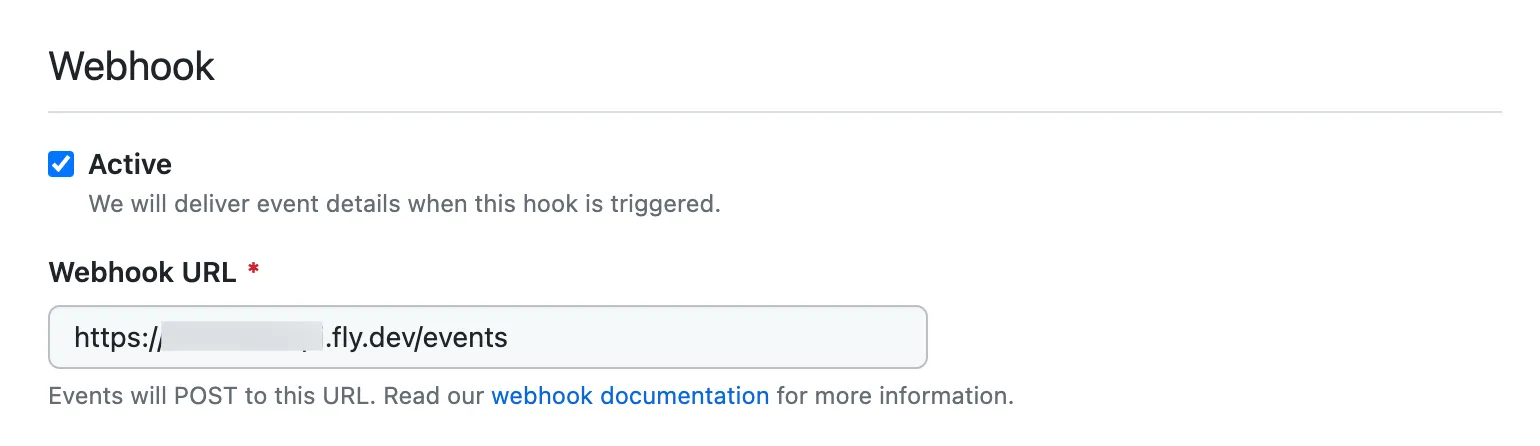
Section: Webhook
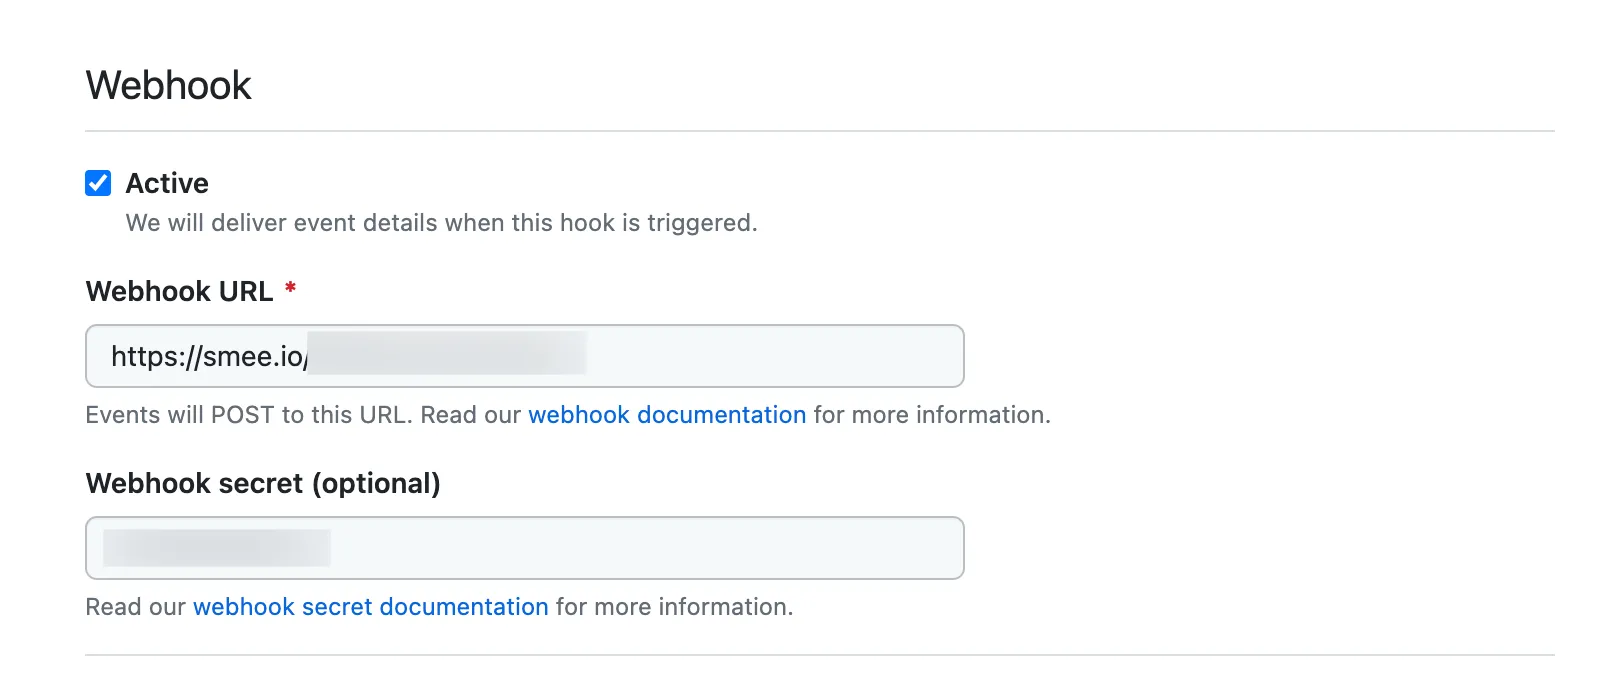
- Active: Check this box since you'll need webhooks.
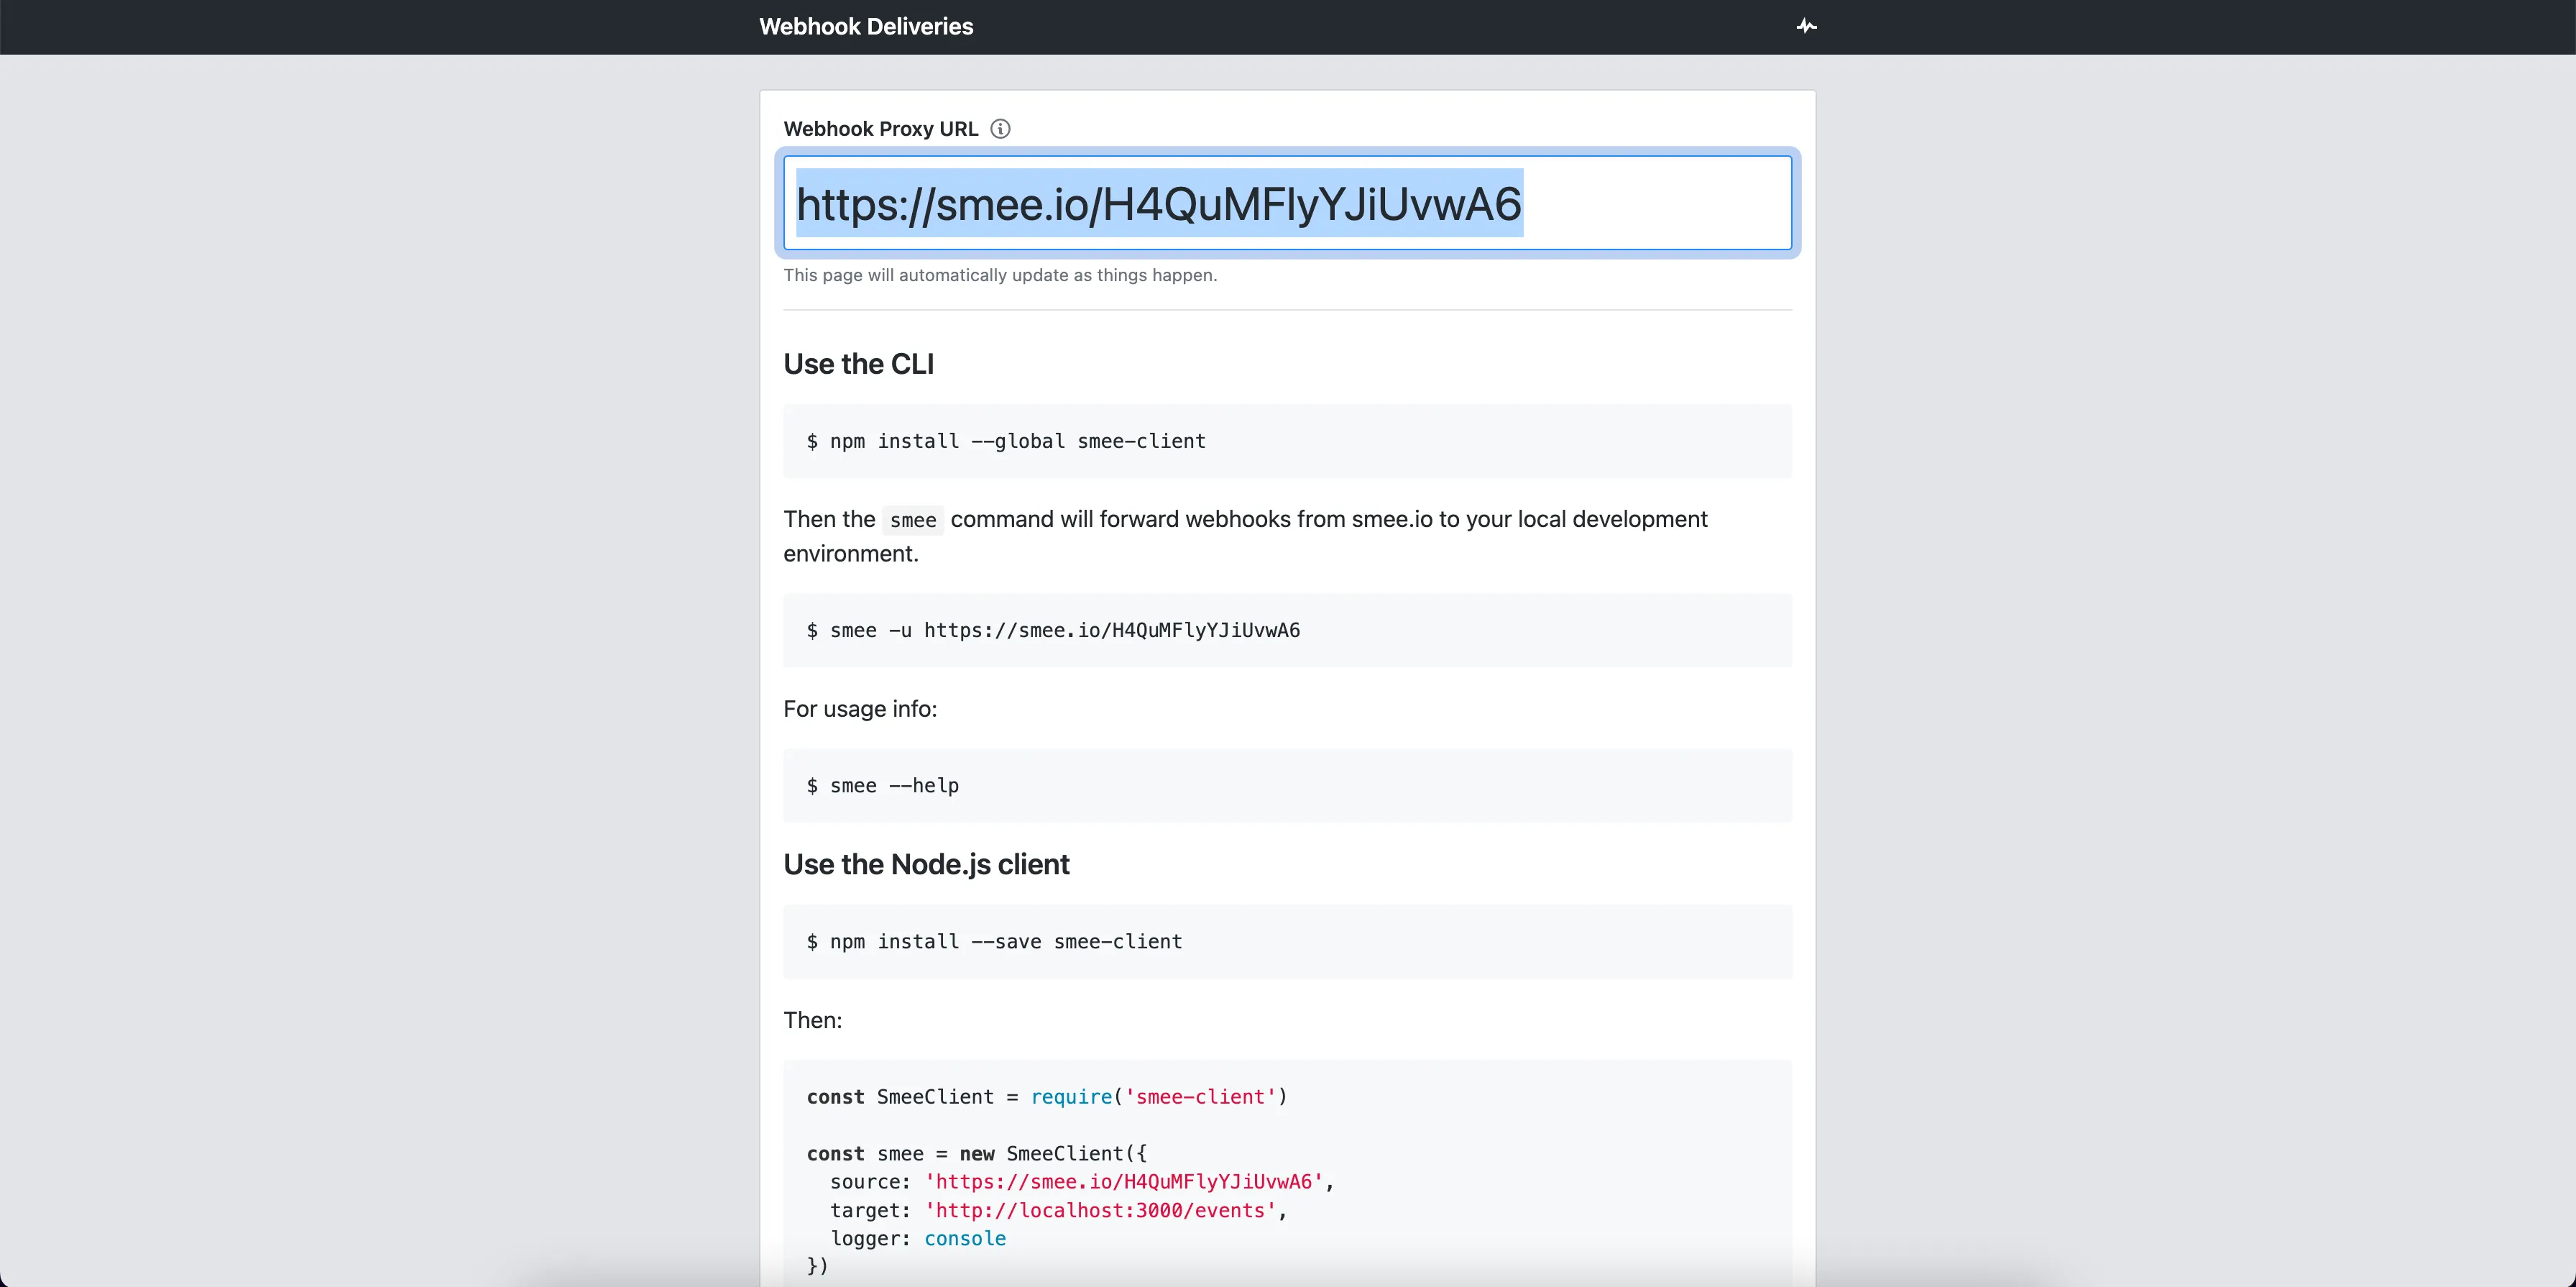
- Webhook url: Navigate to https://smee.io/, click "Start a new channel", and copy the link displayed. This will allow Github to access our local server later in the tutorial.
Paste the highlighted link in this field. Save this for later.
- Webhook secret: I recommend using a password generator to create a strong password. Copy and paste your generated password in this field. Save this for later.
- SSL verfication: Make sure this is enabled.
Section: Permissions

- Repository: You'll need to give your app two permissions here: Contents (read/write) and Pull requests (read/write)
- Organization: No permissions needed
- Account: No permissions needed
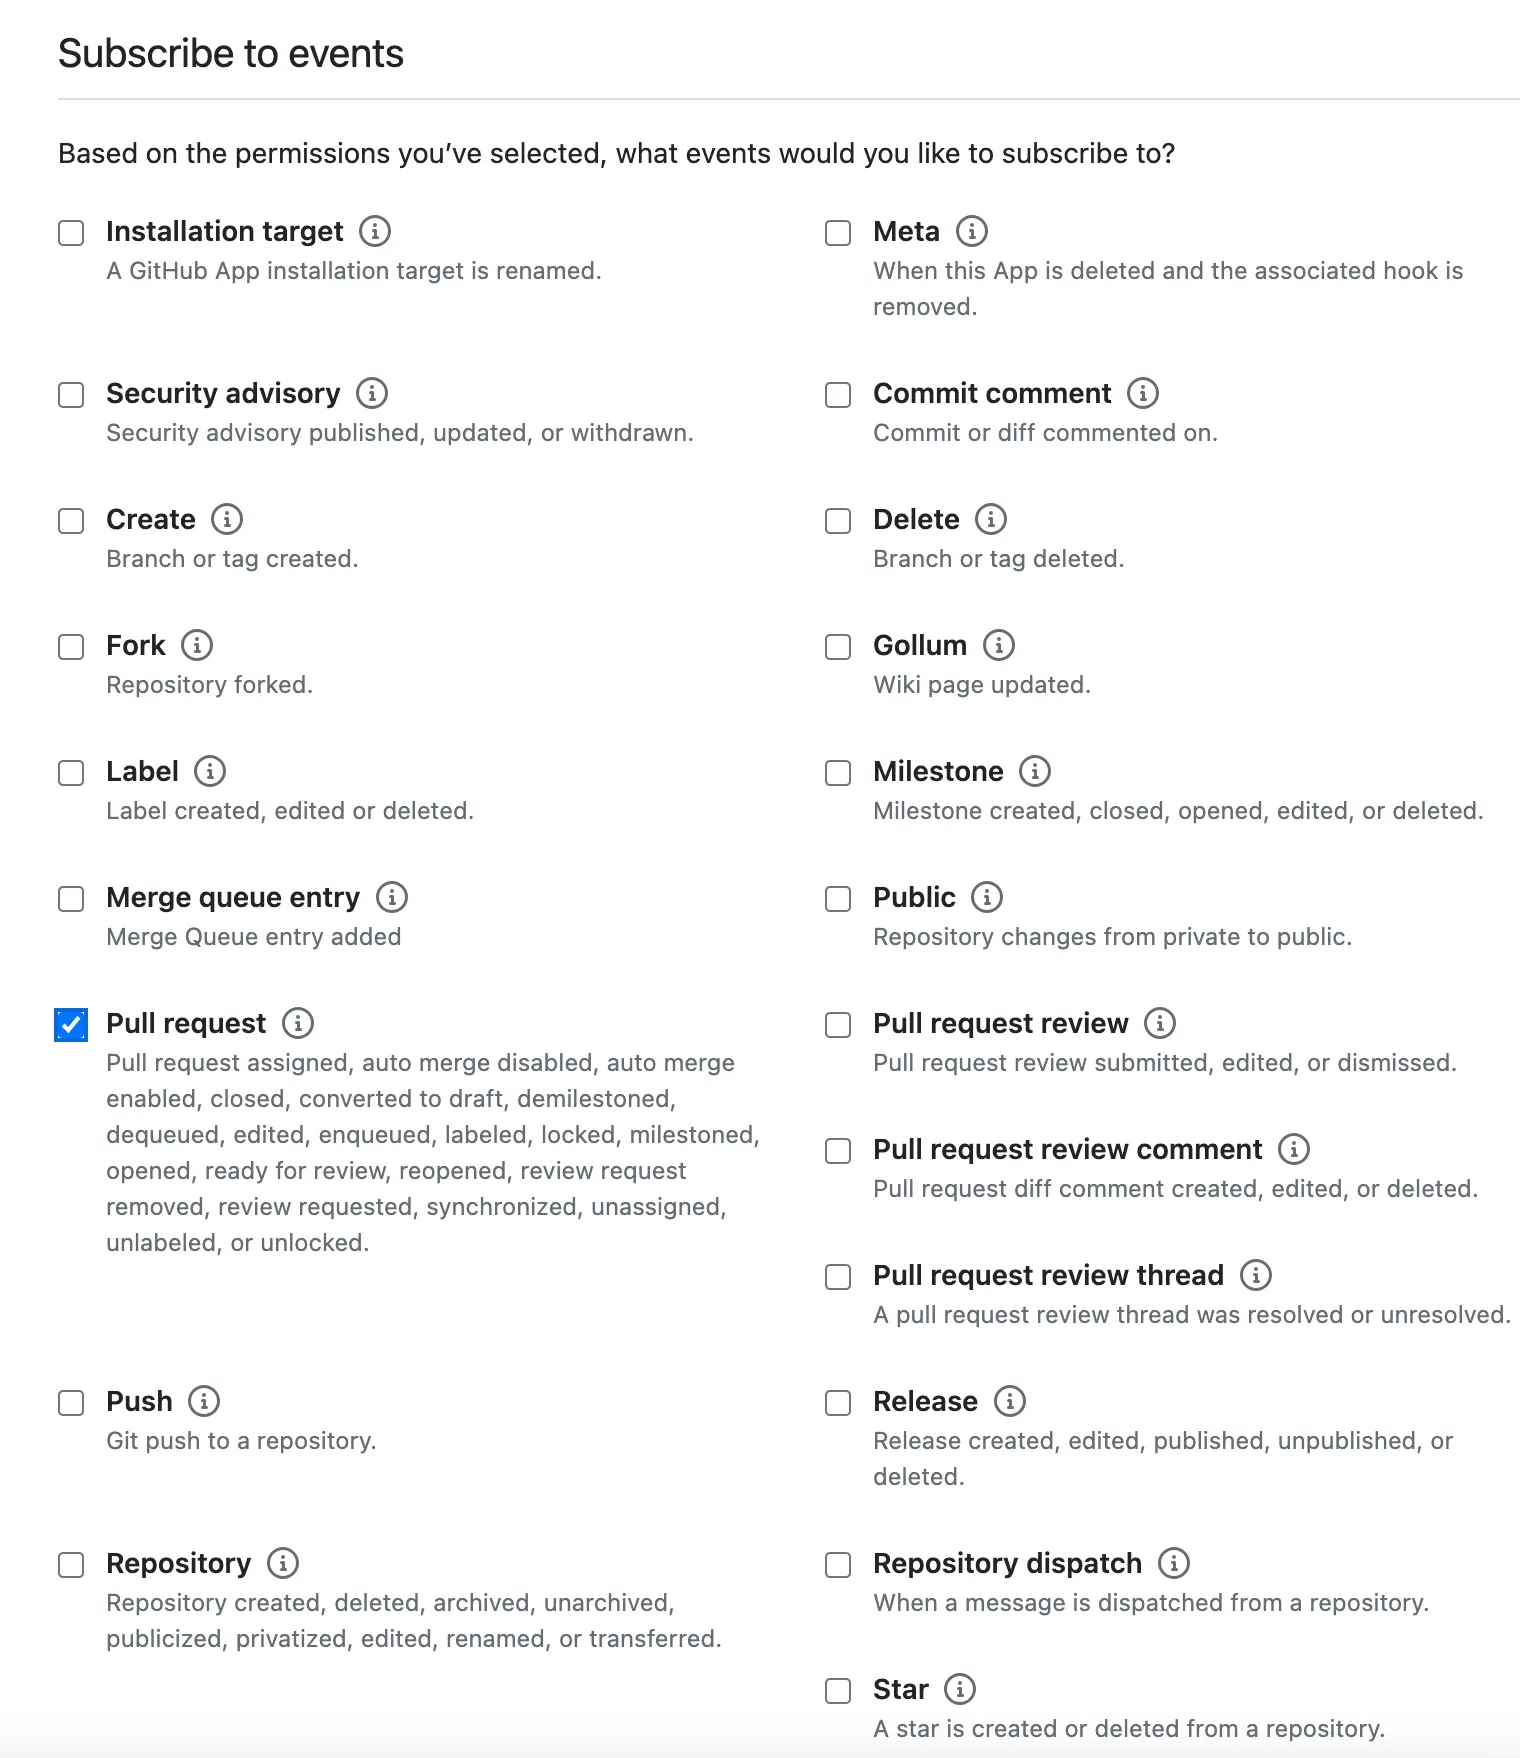
Section: Subscribe to events
- Events: Check the Pull request box.
- Where can this GitHub App be installed: Check the Only on this account box.

Once the form is filled, submit everything by clicking "Create Github App". Upon submission, you should end up at the App's general settings page. You need to install your app so click on the "Install App" tab.
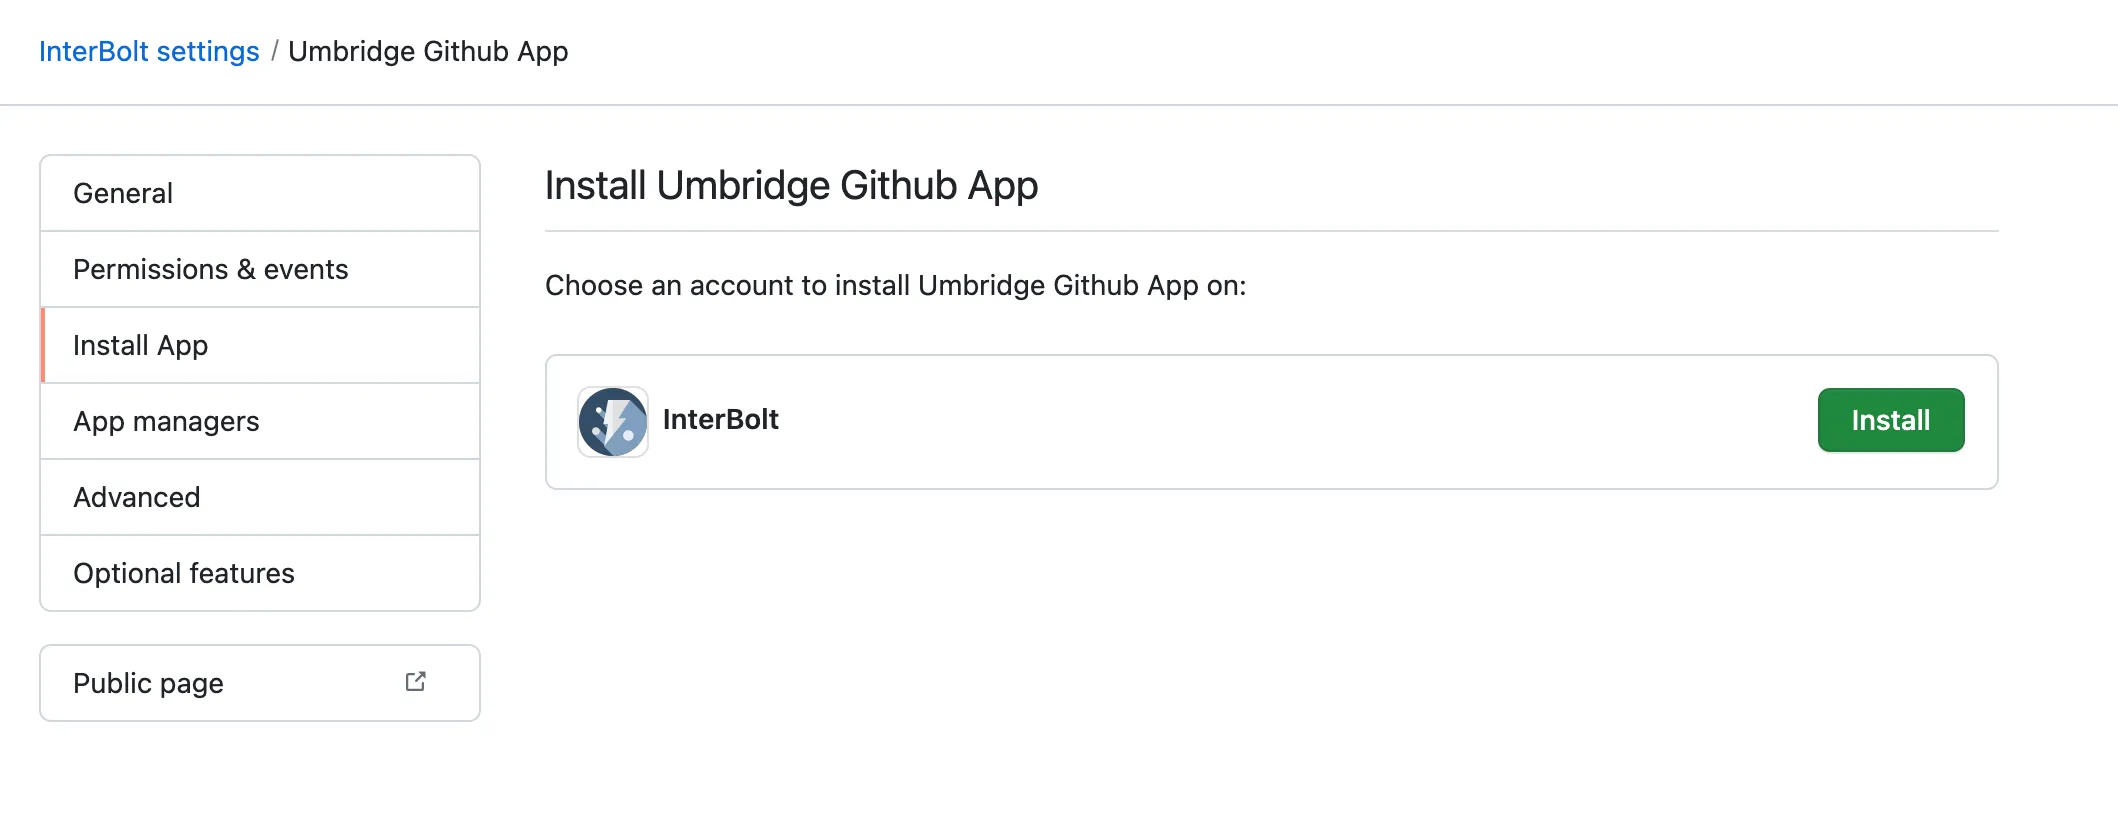
When confirming the installation, be sure that Umbridge Github App can interact with your test repo, umbridge-bot-test, that you created earlier. The confirm page will look something like:
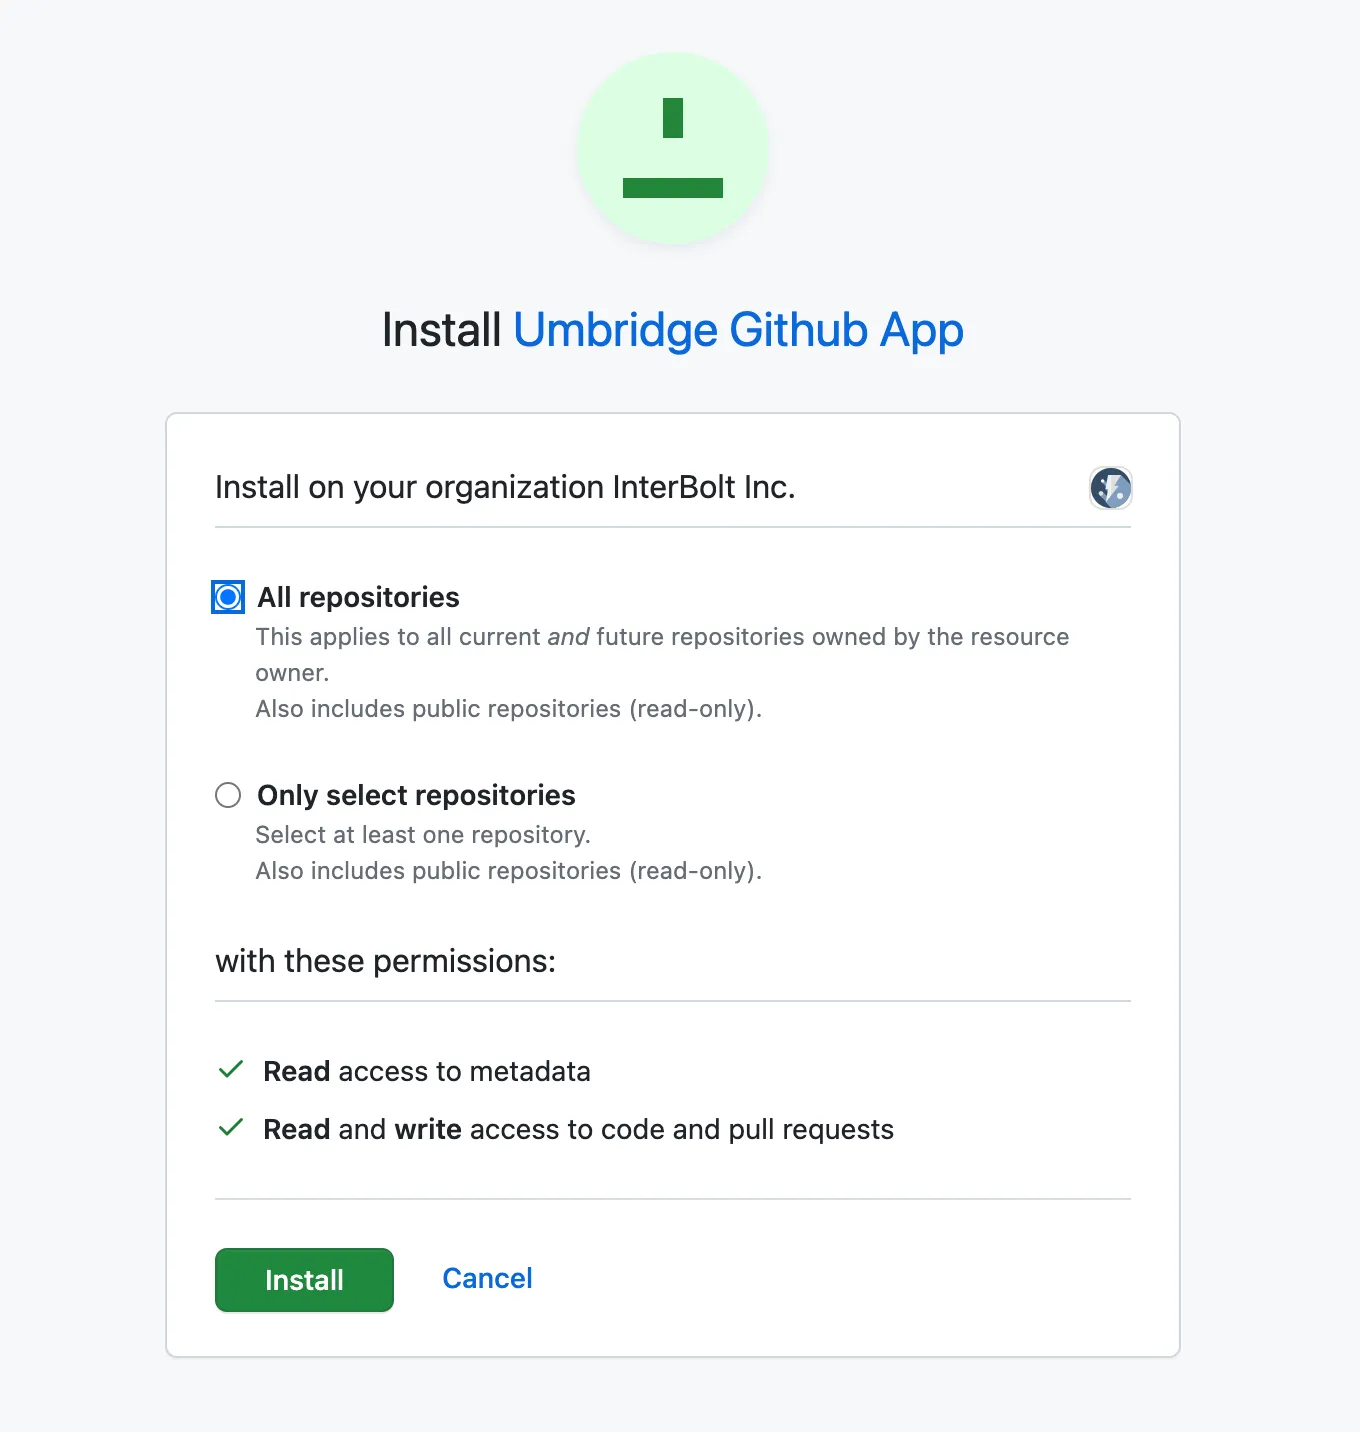
I went ahead and enabled the bot on all of our repositories but feel free to only enable it on umbridge-bot-test.
Next, you need a private key file to run your app locally. Navigate back to the general settings for Umbridge Github App and scroll down to the "Private keys" section. You should see a button to generate a new private key like this:
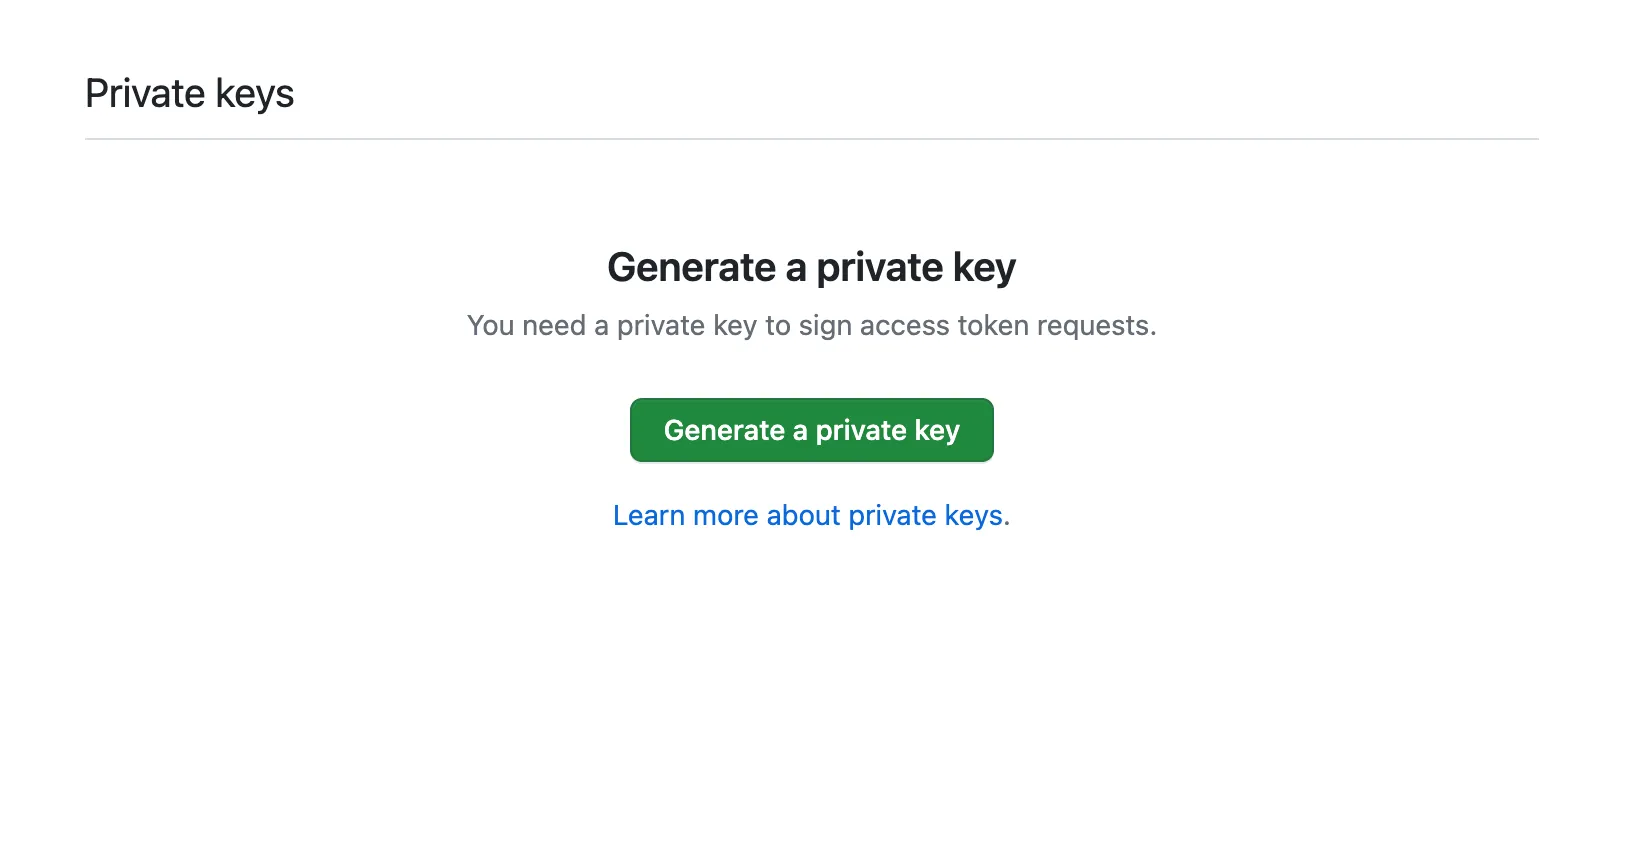
Store the generated file somewhere safe. You'll need it later.
3) Code
Housekeeping
Before you clone the repo and run the bot, you'll need to make sure you have the following pieces of information:
- Webhook secret: You created this when registering the app on Github.
- Webhook url: Remember that smee.io link you created? You're going to use that to proxy events to a local server. The url should look something like this:
https://smee.io/... - Github App ID: You can find this in your Github App's settings, the same page where you created your private key file.
- Github App Private Key File: I recommend naming this
private-key.pem. You'll want to place this in the root of the repo we clone in the next step. - Notion integration secret: You obtained this when creating your Notion developer integration called, "umbridge-integration".
- Notion page id: You can get this by navigating to the Notion page with your coding guidelines. The Notion page url will end with the page id like so
https://www.notion.so/<Page Title>-<Page ID>. Extract the id and save it somewhere to use later.
Configuration
With all that in place, clone the repo, install dependencies, and setup the environment variables:
## 1) clone the repo
git clone https://github.com/interbolt/umbridge-github-app
cd umbridge-github-app

## 2) install deps
yarn install

## 3) create an empty .env file from the example
mv env-example .env
At this point, you should have all the information needed to fill in the empty .env file:
GITHUB_WEBHOOK_SECRET=
GITHUB_APP_ID=
GITHUB_APP_PRIVATE_KEY_PATH="./private-key.pem"
## Be sure to change this if you didn't use the suggested app name!
GITHUB_APP_NAME="Umbridge Github App"
GITHUB_ORG=
REACTION_THRESHOLD=1

NOTION_PAGE_ID=
NOTION_INTEGRATION_TOKEN=

SMEE_URL=
PORT=3000
Don't forget to move the private key file to the repo root and name it private-key.pem.
NPM Scripts
Let's review our cloned repo's package.json scripts:
{
  "dev": "nodemon",
  "expose": "node ./bin/smee.js",
  "start": "node dist/server.js",
  "compile": "tsc"
}
To run our app, we run yarn dev. This will invoke nodemon based on the nodemon config file at <repo>/nodemon.json:
{
  "ignore": ["node_modules"],
  "watch": ["src", ".env"],
  "exec": "yarn compile && run-p expose start",
  "ext": "ts"
}
The nodemon config ensures that anytime we save changes in <repo>/src/ or <repo>/.env we'll first recompile our code with yarn compile and then run two npm scripts in parallel: expose and start. expose runs <repo>/bin/smee.js, a Node script that exposes a port (specified in .env) on your computer to the outside world, and start simply runs the compiled code in the dist folder.
I won't go over the tsconfig.json. It's a pretty basic setup so feel free to customize it as you see fit.
Source Code
Now for the fun part: let's review the code in the <repo>/src/ folder:
src
├── config.ts
├── handlers.ts
├── server.ts
└── services
    ├── github.ts
    └── notion.ts
server.ts
The <repo>/src/server.ts file is our entry, so we'll start there. <repo>/src/server.ts does two things:
- Runs a local server that will expose the
/eventsendpoint for Github to hit when a new PR is created. Your smee.io url forwards requests tohttp://localhost:3000/events. - Runs a setInterval function that periodically checks for reactions on open PR comments and submits PR reviews based on like counts.
Typically, Github apps only need the first piece of functionality: the web server exposting the /events endpoint. But, Github does not support webhook events for reactions, so we must poll for these changes instead.
handlers.ts
Within <repo>/src/server.ts, we make use of two handler functions, handlePollReactions and handleEventPROpened, defined in <repo>/src/handlers.ts. These two functions contain the core business logic required to make our app work. Let's review what they do:
handleEventPROpened: As its name suggests, this function is called any time a new PR is opened. It grab the Notion page we created earlier and posts it on any new PR as the PR's first comment. It wraps the Notion page content in a<details><summary>Best Practices</summary>...</details>block to keep things terse.
handlePollReactions: This function is called every 7 seconds. It finds all open PRs in the installed repos and determines, based on how many people have upvoted the coding guidelines, whether or not to approve the PR, or dismiss its previous approval. Here's what an approval looks like:And, here's a dismissal: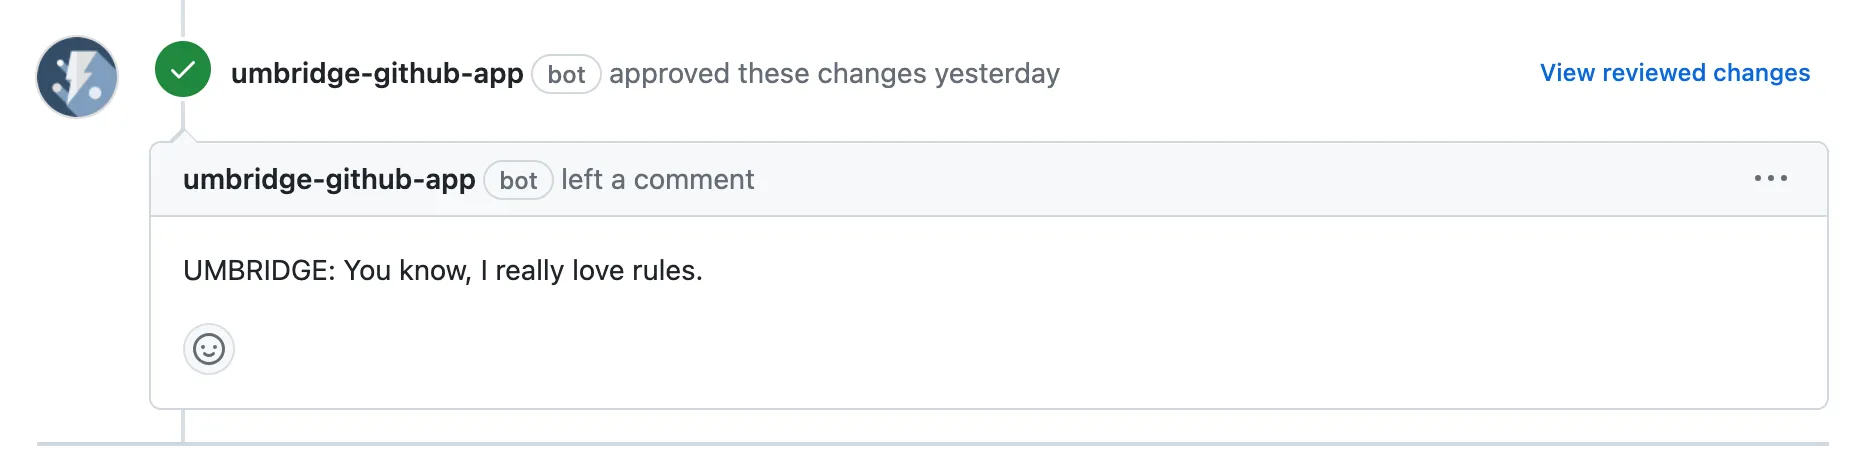

services/
Within <repo>/src/services/ I have some implementation logic for making requests to Github and Notion and formatting responses. These files are a bit more complicated so I won't go through them in detail in this post. Nonetheless, here are the interfaces for both services:
- exported interface of services/notion.ts
interface Notion { getMarkdown: () => Promise<string>; } - exported interface of services/github.ts:
interface Github {
  init: () => Promise<void>;
  getRepos: () => Promise<Array<Repo>>;
  getPRs: (repos: Array<string>) => Promise<{
    prsToApprove: Array<PullRequest>;
    prsToDismiss: Array<PullRequest>;
  }>;
  approve: (repo: string, prNumber: number) => Promise<void>;
  dismiss: (
    repo: string,
    prNumber: number,
    reviewId: number
  ) => Promise<void>;
  commentOnPR: (
    repo: string,
    prNumber: number,
    comment: string
  ) => Promise<void>;
  getRequestCount: () => number;
  resetRequestCount: () => void;
}
config.ts
This file organizes the configuration information sourced from the .env file into separate config objects that we use throughout the code.
Run your bot
With the Github app registered, your Notion page written, and the code downloaded and configured, you should be able to run the bot. To do so, run yarn dev in the repo root and open a new PR in your test repo, umbridge-bot-test. If everything is set up correctly, your new bot will automatically create a new comment with your Notion guidelines. By default, the env variable, REACTION_THRESHOLD, is set to 1, which means when you upvote the bot's comment, you'll see it submit an approving review a few seconds later. And when you remove your like from its original comment, you should see it dismiss its review a few seconds after that.
Deployment
This tutorial is already quite long so I won't include instructions for deploying Umbridge Github App to a remote server. However, I can confirm that deploying it onto fly.io was fairly straighforward. The only thing to remember is to swap out smee.io url on the Github app settings with the url that fly provides you with after deploying everything.
4) Feature suggestions
All in all, the bot in this tutorial is pretty simple. It grabs information from one service, Notion, posts the information in another service, Github, and then responds to reactions in pull requests. I challenge anyone who's made it this far to consider additional features to add. A few ideas I have:
- Include the names of the people who upvoted the coding guidelines to promote accountability.
- Handle different types of reactions in different ways. For example, if enough team members react with a heart emoji, automatically post the PR diff in a slack channel to highlight the author's excellent work.
- Use an LLM and a vector database to have the bot provide suggestions for how a PR author can better follow coding standards based on its understanding of the Notion content and the diff.
- Support multiple Notion pages where specific pages map to specific repos. For example, only post backend coding standards in the backend repos, and frontend standards in frontend repos.
Closing Thoughts
The culture a team or company establishes around coding standards is critical to ensure a healthy codebase, especially during periods of high churn. Good documentation stays fresh for years, not months, and is adhered to by devs at all levels and tenure in the company.
Hopefully my Github app sparks some ideas for other ways your team can lean on automations to improve its processes. If you have any questions or feedback please feel free to reach out to me at [email protected]. I'm always happy to chat about software engineering, or anything else. Thanks for reading!